Continuing with my Javelin M24 project, I placed an order with one of my local airsoft shops in North Tonawanda NY for the cylinder internals. While the shipment took forever and a day, at no fault of Ready4Chaos mind you, I decided to work on the accuracy portion of the M24; the hop up and inner barrel. While this sounds super easy, trust me when I say it was beastly.
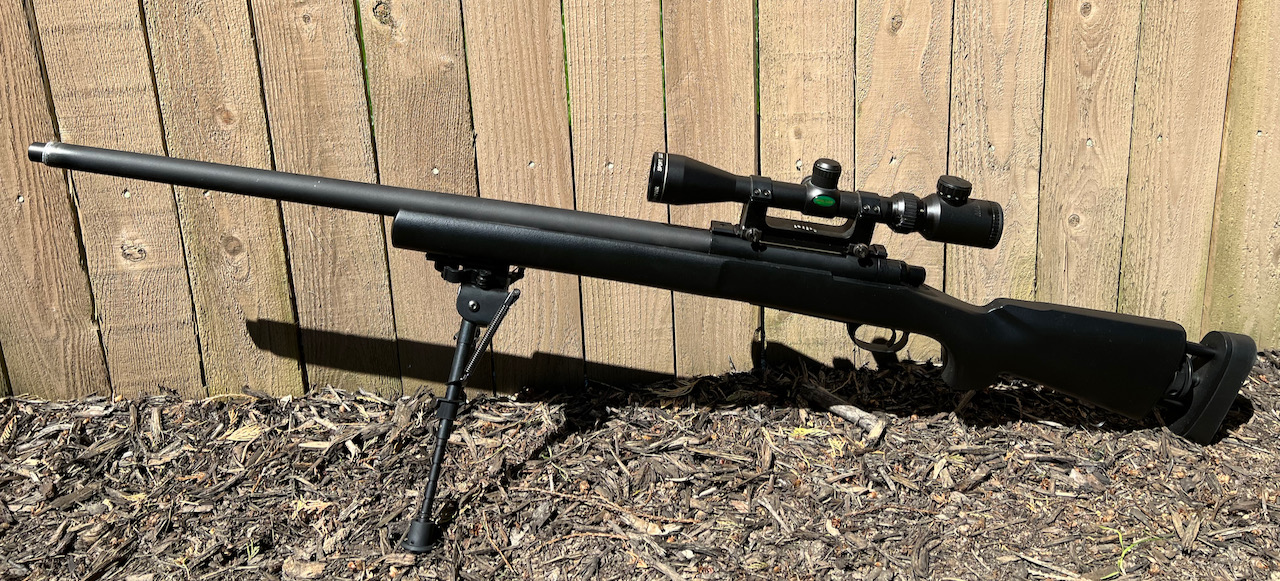
The inner barrel I am using, the Madbull Black Python Inner Barrel – 6.03mm diameter, 509mm length, was about 30mm longer than the stock barrel. This meant that I would have a tiny bit of inner barrel sticking out the end of the outer barrel. To cover this up, I sourced the Falcon Snow Wolf M24 Silencer Adapter and a 40mm x 200mm Spartan Doctrine Lightweight Mock Silencer. 200mm is a bit long and a I may replace this in the future with something a little slimmer/shorter, but for now, it looks mean. The original barrel cap was a beast to get off, requiring Herculean strength and a heat gun as there was an overabundance of glue on the threads when the factory sealed it. Once off, there was a lip on the silencer adapter that would not let the inner barrel pass through. Chris worked his magic with tiny files (and the patience of a monk) to remove the lip, letting the inner slide through. With the PDI Snow Wolf M24 Hop Up Chamber installed, Chris noticed the inner barrel wobbling around the end of the silencer adapter and had the genius idea to a a very small, thin o-ring to act as a barrel spacer. The inner barrel is rock solid with not a bit of movement. Big thanks to Chris for his help on the external components, I don’t know if I would have been able to get all that installed without his efforts.
Once the parts order arrived, we moved onto the cylinder upgrades. The stock upgrades weren’t horrible or broken. They were very clean and lightly oiled but not putting out the FPS I needed to be competitive on the field. I decided to do a complete swap of the internals at one go rather than piece it out, here’s what I dropped in:
- King Arms Reinforced Piston for APS-2
- Guarder Precision Piston Head for APS-2
- Angel Custom APS-2 Ball Bearing Spring Guide (7mm and 9mm)
- Angel Custom SP150 Spring
The install was pretty straight forward with no additional modding whatsoever. I greased the new piston head and that was pretty much about it. I did wrap Teflon tape around the cylinder head before screwing back on to the cylinder, but who doesn’t do that to spring rifles? Once reassembled, it was off to the chrono. Using Tsunami .20g bbs, I was shooting at a high of 543 FPS and a low of 538. Just a little too hot for the local fields but I can drop that with a spring mod or two. That can be round 3 of the modifications. I haven’t done any range testing yet and I don’t have my heavy-weight bbs in. With a target FPS of 500 w/.20g bbs, I’m planning on using .40s, maybe .43s but further testing will determine that.
All in all, she’s coming along nicely and I’m still on track to have her fully functional by the end of April.
James
Radar